You can host your website on Android! Here's how.
Hosting your website or blog from your pocket sounds fun? This blog post will describe how you can turn your Android device into a web server which can be accessed from a public URL or your own domain.
We will be using Termux, which is an Android terminal emulator on which we can run a web server such as a Node.js http-server, and Pinggy for obtaining public URLs for accessing that server.
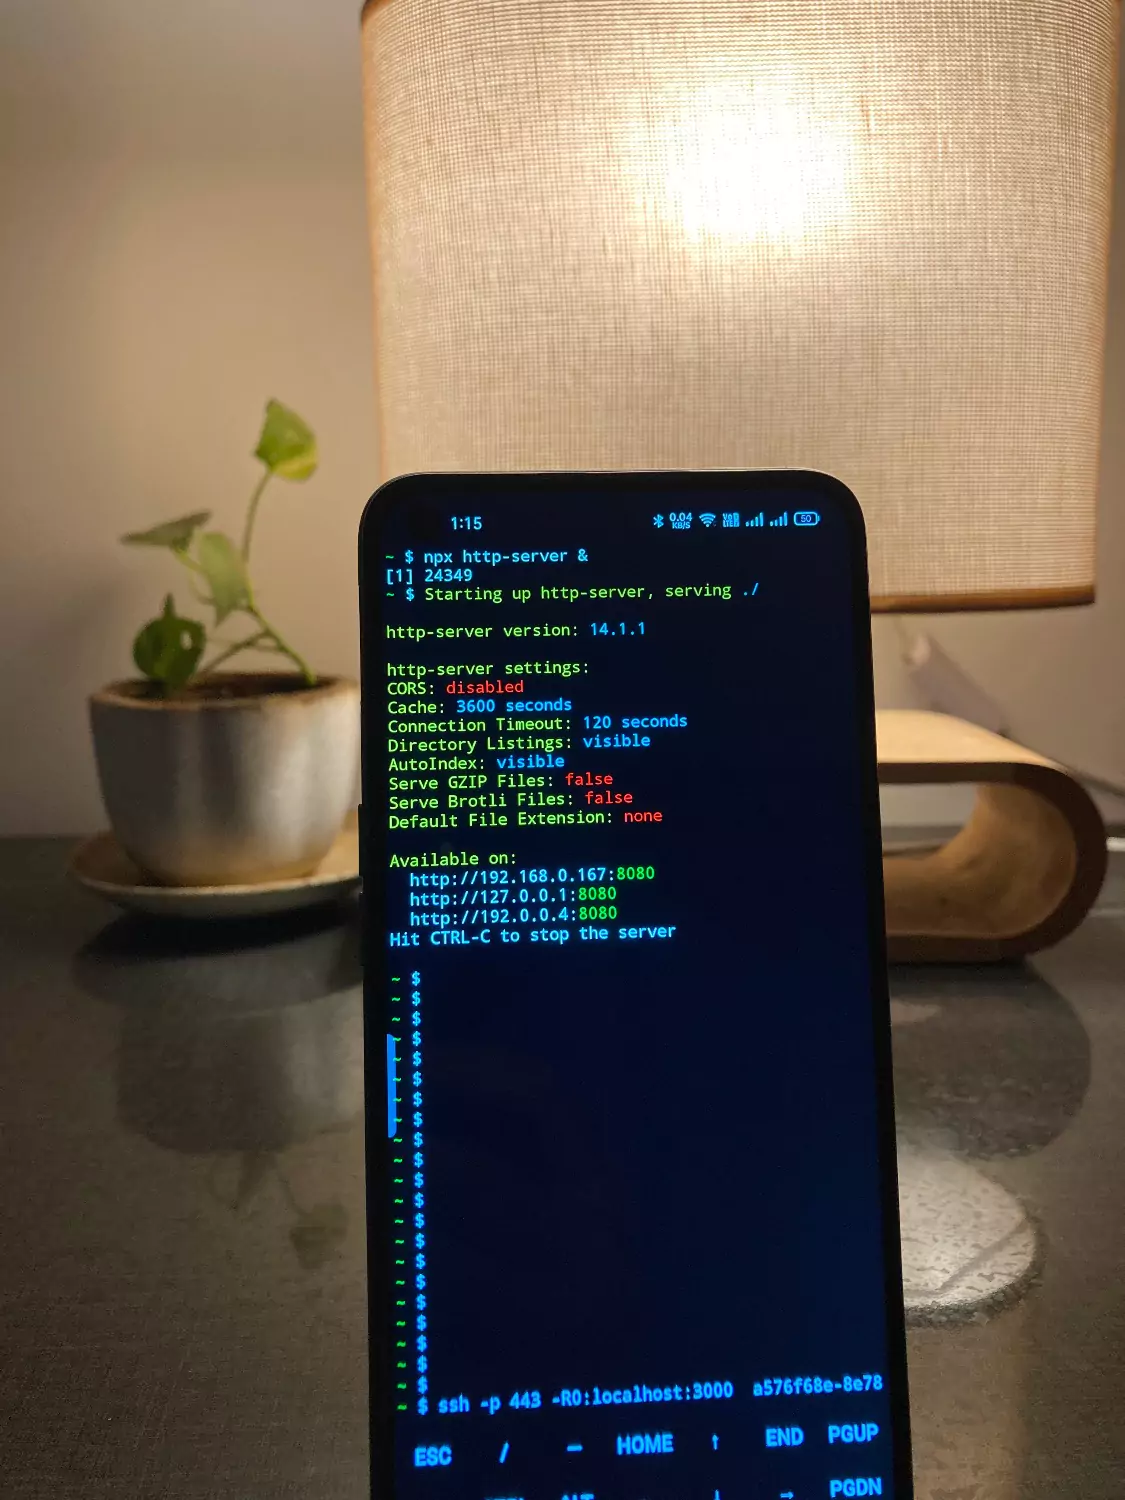
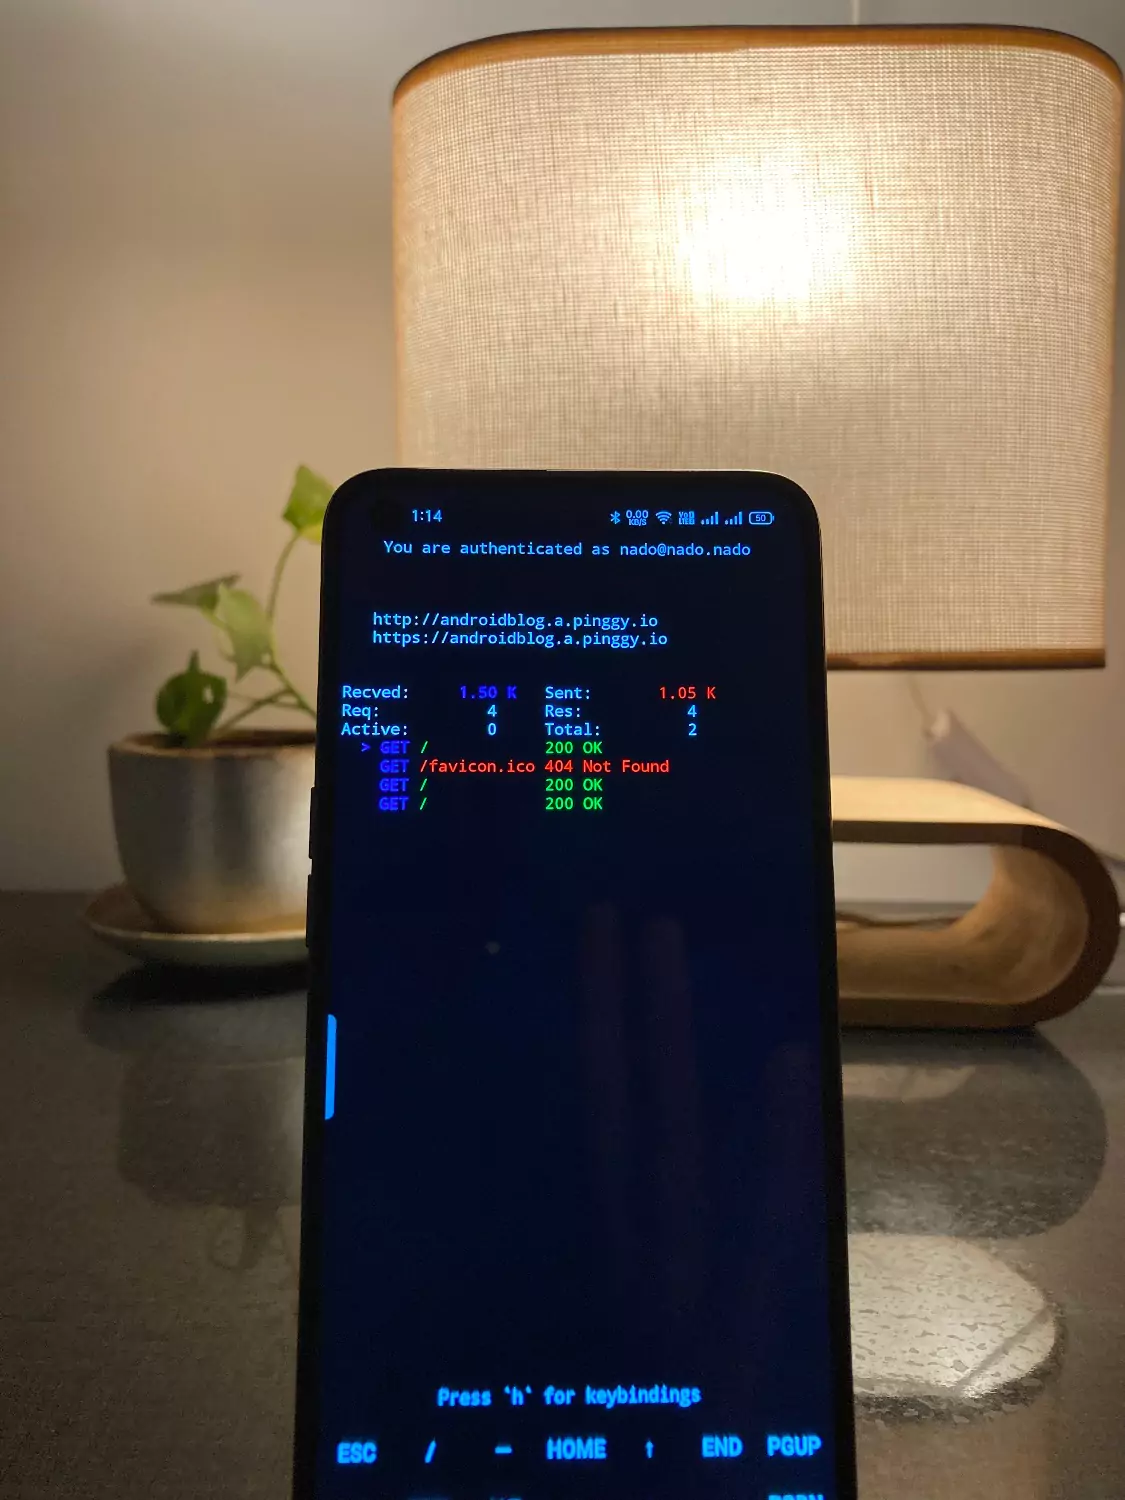
To give you a glimpse of a blog running on a $180 Android phone, here are some screenshots. The first image shows the Node.js http-server running, while the second image displays Pinggy’s terminal user interface showing the live requests to the website as they arrive.
Follow these simple steps to serve your own webpage from your Android phone.
Step 1. Install Termux
Termux is an application for Android that emulates a terminal and Linux environment. Unlike other similar apps, it does not require rooting or any additional setup. It comes with a basic system, and you can install more packages using the APT package manager.
You can get the Termux app on F-Droid through this F-Droid link.
You can directly download the Termux APK from the website. Simply click on the “Download APK” link located at the bottom of each version section. Read more in this GitHub link.
Note that it is NOT necessary to download the F-Droid app (from the “Download F-Droid” link) to install Termux.
Step 2. Install Packages
In order to serve a webpage, we need to install a web server on our device. We also install openssh client which will help us in sharing the website later.
Update packages:
pkg update
pkg upgrade
Install openssh client and Node.js:
pkg install openssh
pkg install nodejs-lts
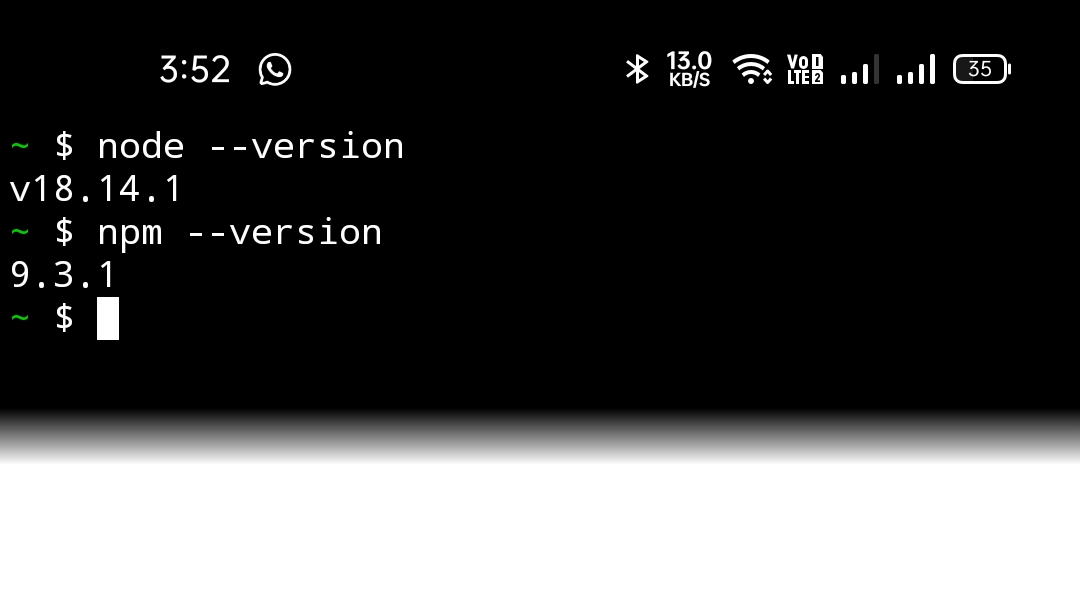
Once these are installed correctly, you will be able to check the versions of node and npm using node --version and npm --version
Step 3. Start server and Pinggy tunnel
You can first create a sample HTML page by creating an index.html file as follows:
echo "<h1>Hello World!</h1>" > index.html
You can use the nano editor to edit the webpage from the terminal: nano index.html. If you prefer vim then you can also install that.
Now start the http-server:
npx http-server &
Note: we add a & at the end of the command. This will allow the http server to run in background. Use the fg command to bring it to foreground and press Ctrl + C to stop it.
This will start the server on port 8080 by default. Check the output to confirm.
Start Pinggy to get a public URL:
ssh -p 443 -R0:localhost:8080 a.pinggy.io
You will get a public URL such as https://ranxyzxxxx.a.pinggy.link, which you can use to access your server running on your phone! Next we will discuss how to use a domain or subdomain of your choice.
In case you get a different port than 8080 on the above command, change it in the Pinggy command also. You can use Ctrl + C to stop the tunnel.
Now share your URL with your friends and watch live stats of visitors on the Pinggy terminal user interface. You can also hit the return key to see details about the the request and response headers including user agent, etc.
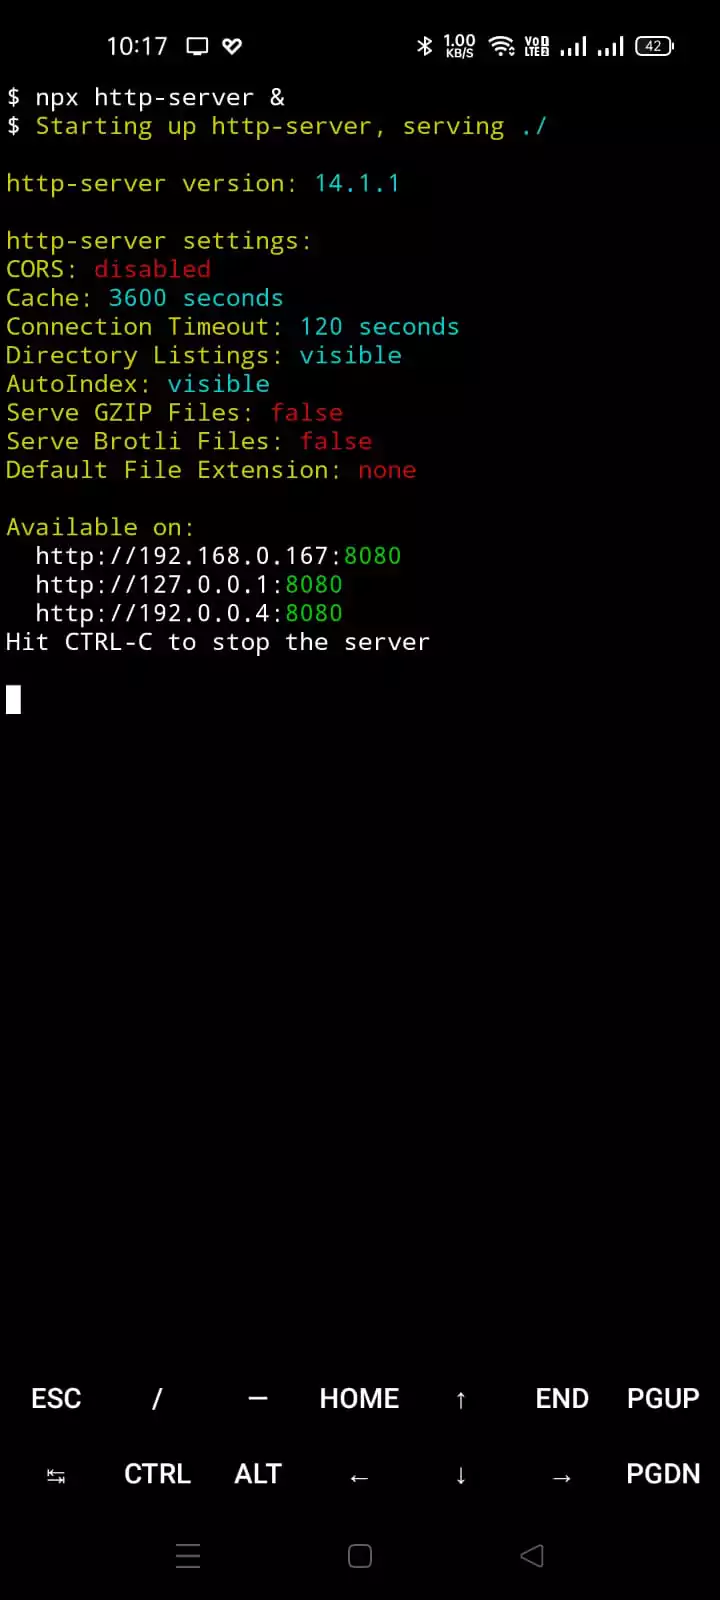
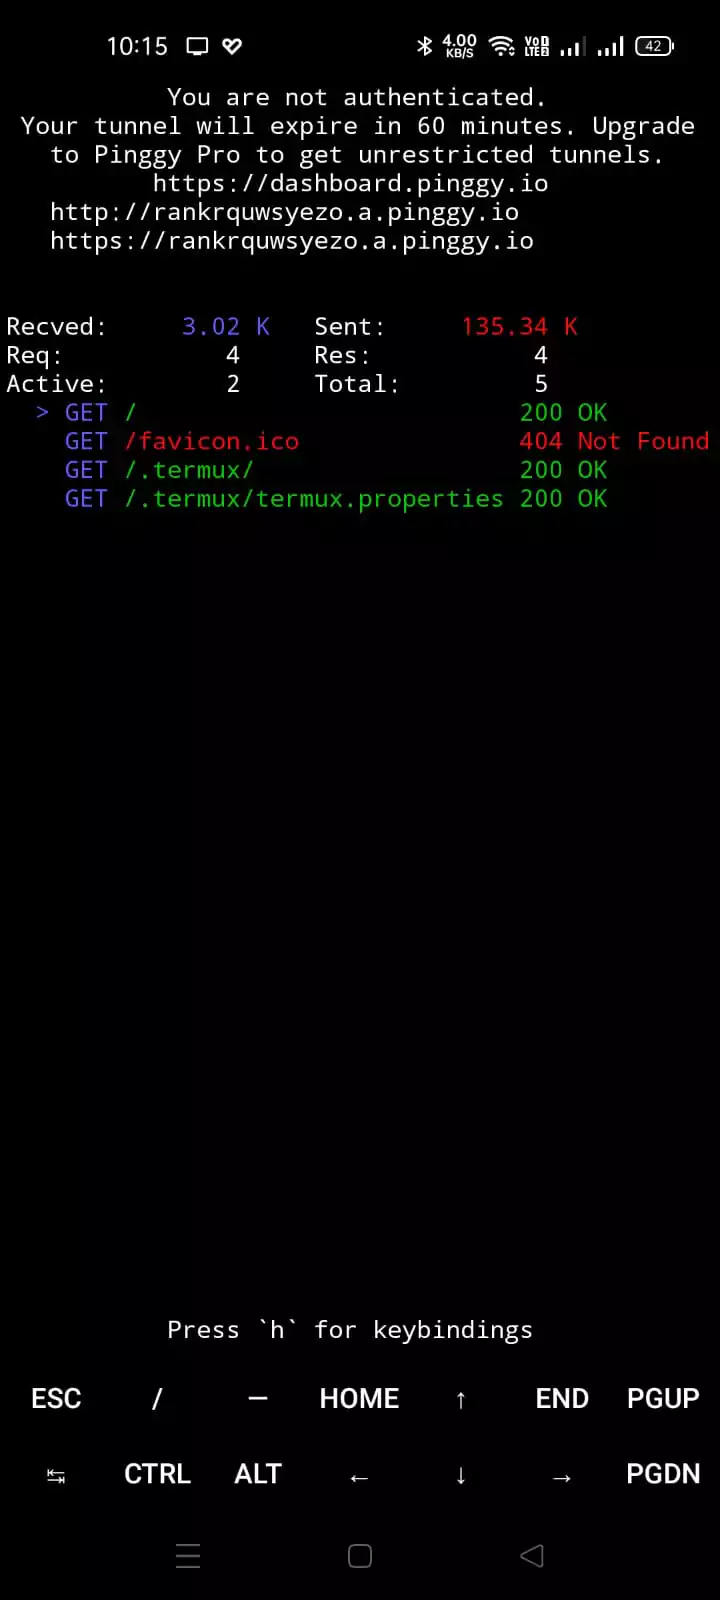
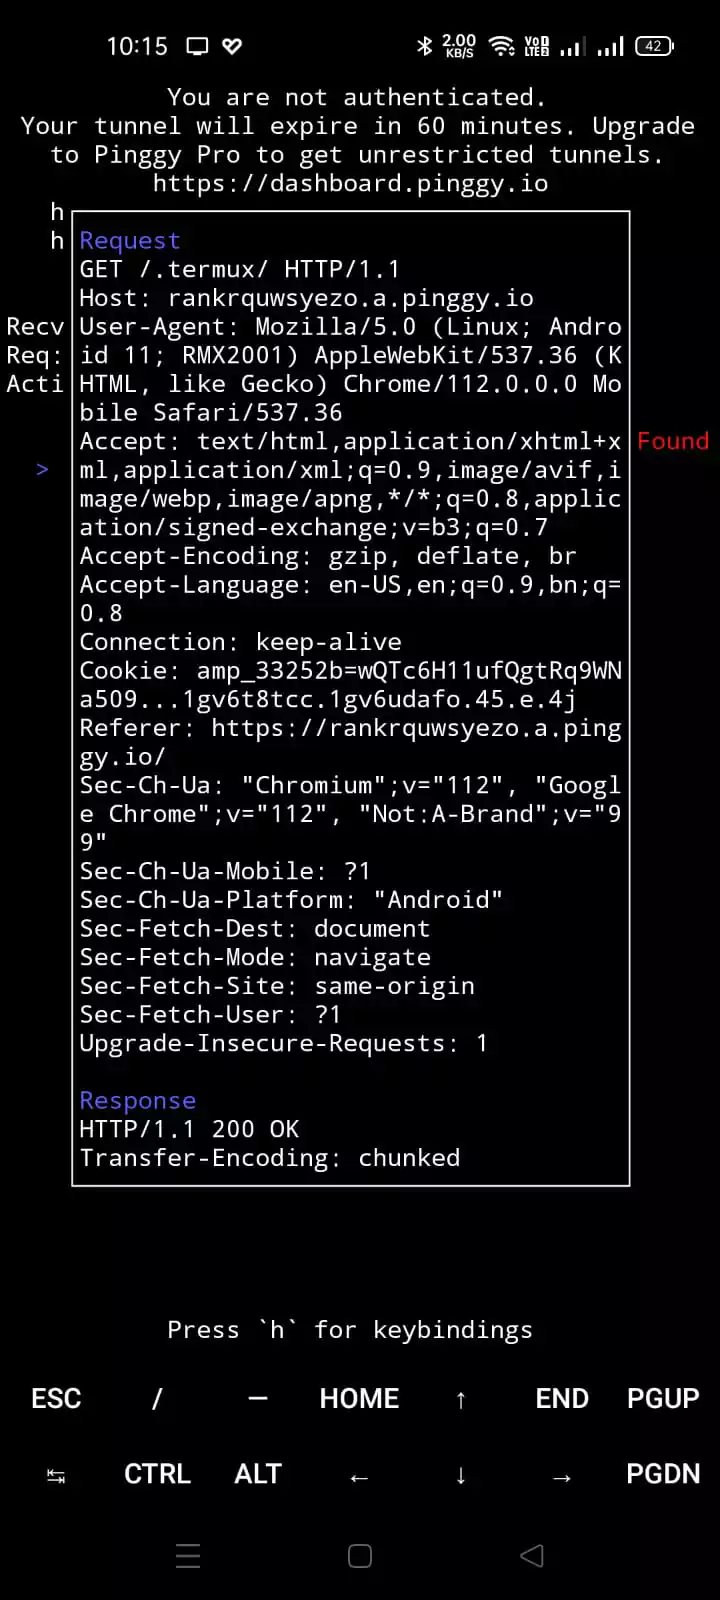
The first image above shows the Node.js http-server running and listening on port 8080. The second screenshot shows the Pinggy tunnel starting and providing a public URL. It is also showing the live visitor requests to the server. The third screenshot shows more details about a particular request.
Connect it to your own domain
You can also use your own domain or choose a subdomain for accessing this server. Or you can also choose a suitable subdomain such as https://myandroidblog.a.pinggy.link .
First you need to sign-up for Pinggy and subscribe to Pinggy Pro. Then go to the dashboard and click on Custom Domains on the nav bar.
Put your own custom domain that you want to use and Pinggy will provide a CNAME record that you need to configure in your DNS settings of the domain.
After the CNAME record is set, just click Validate followed by Issue Certificate button to finish configuring the custom domain.
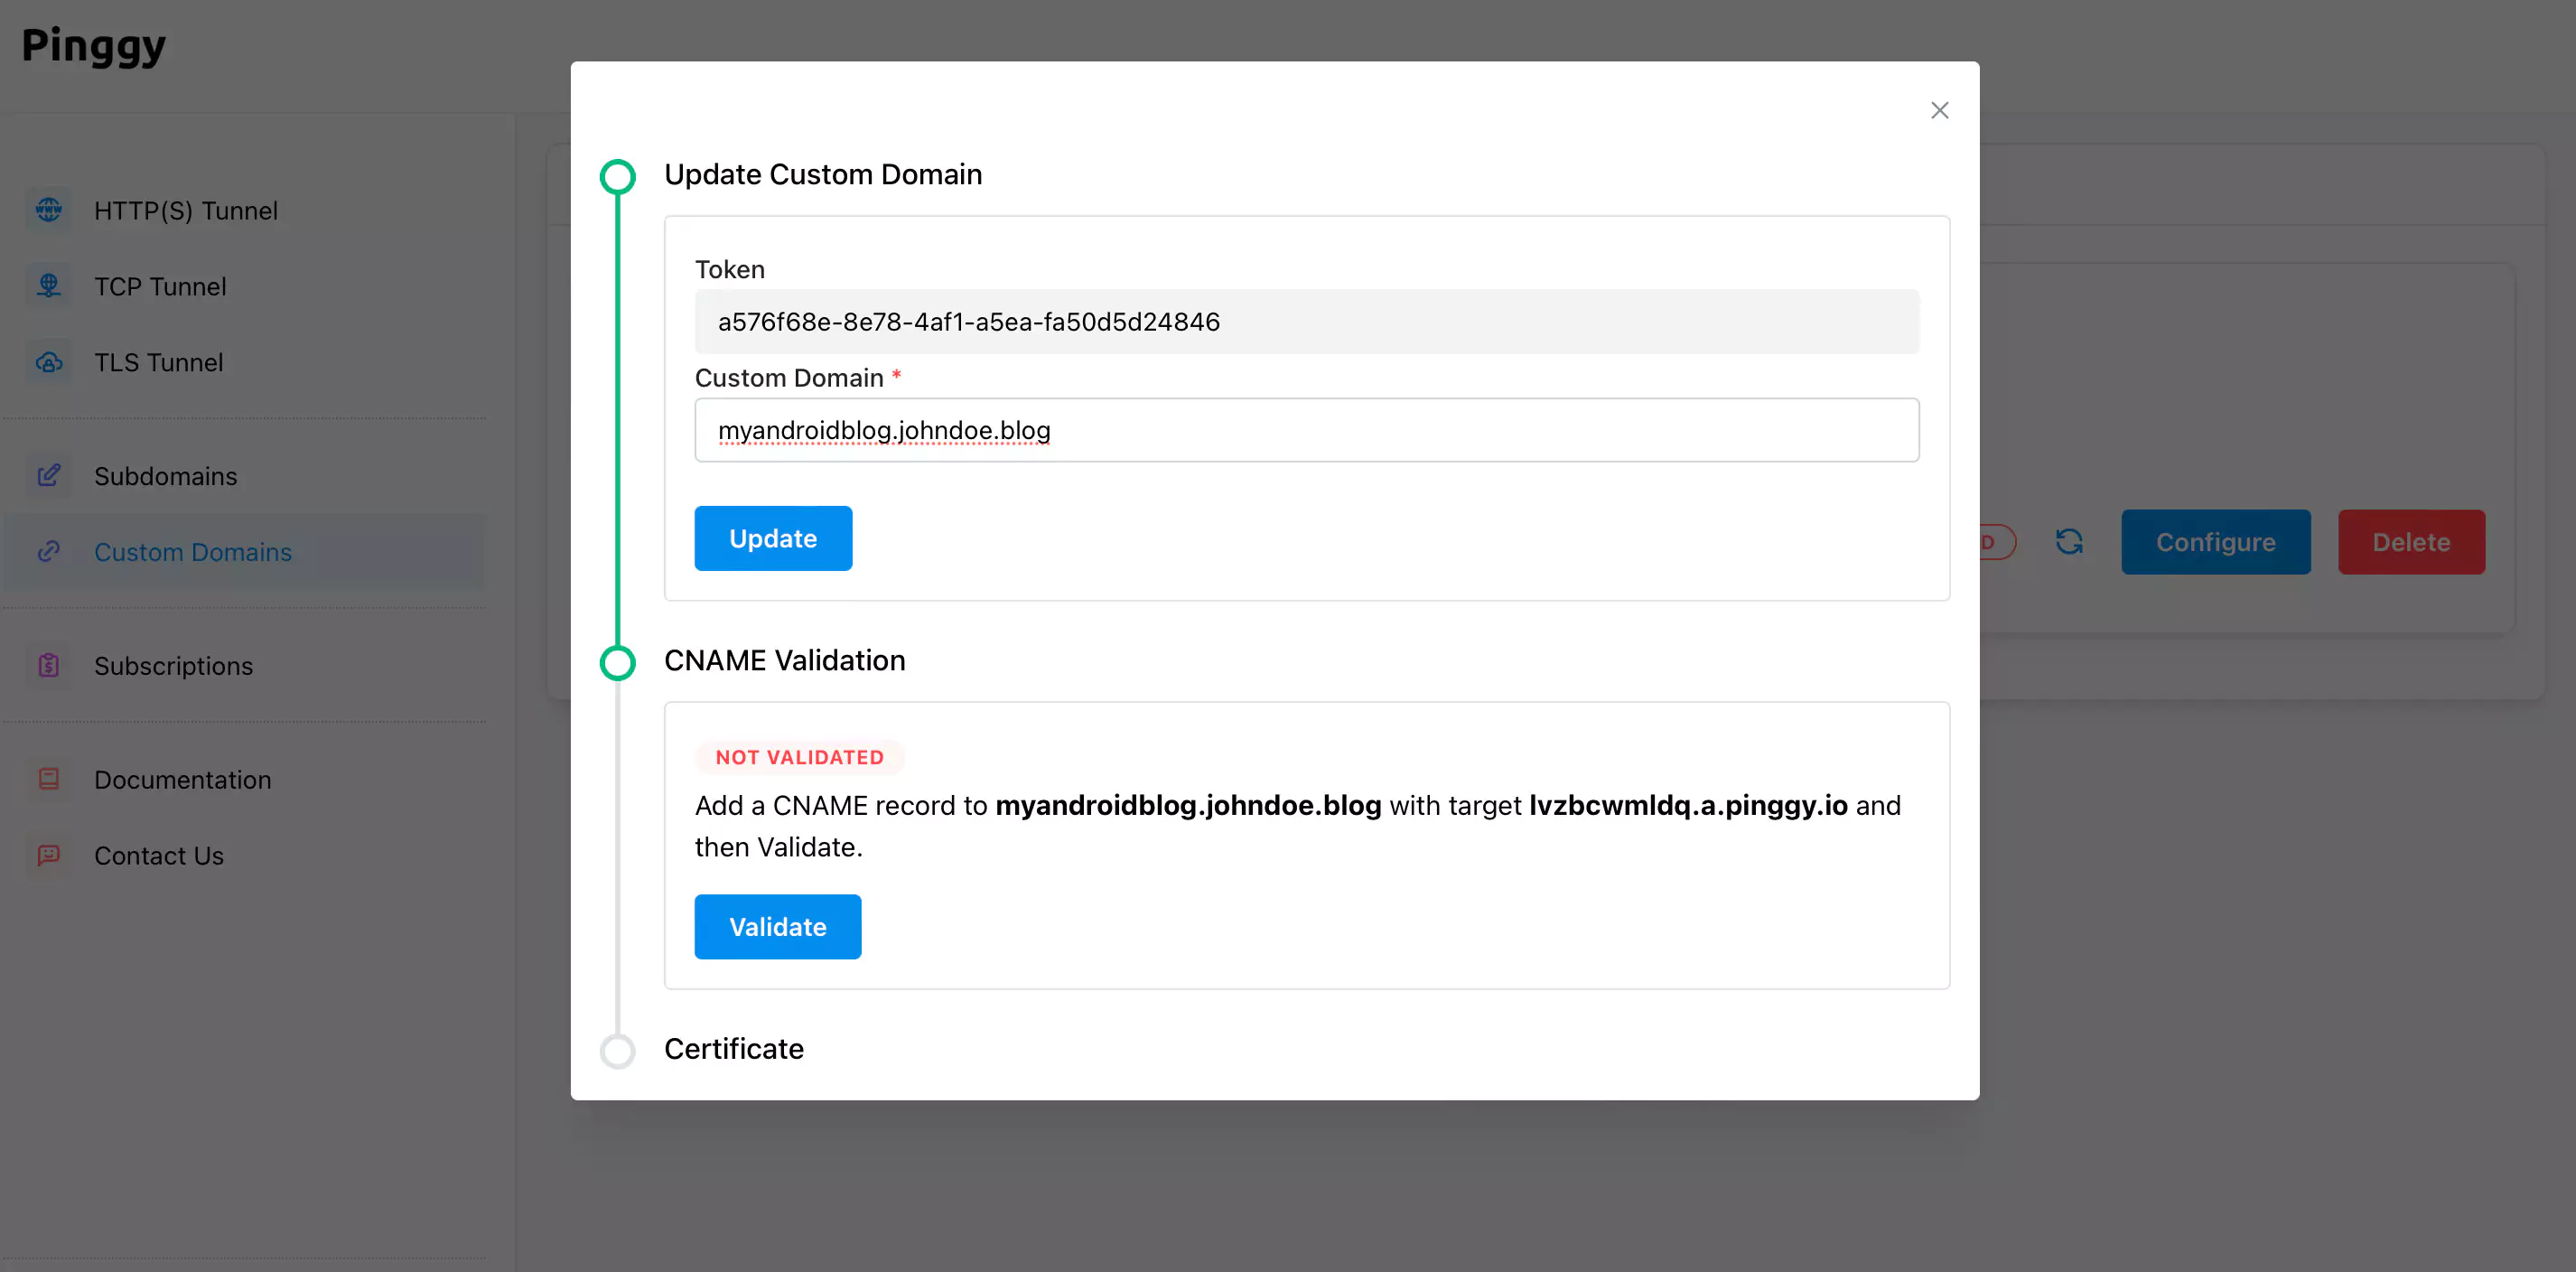
Once the custom domain is configured, just use the token from Pinggy dashboard in the pinggy tunnel command:
ssh -p 443 -R0:localhost:8080 <put your pinggy token here>@a.pinggy.io
In conclusion, hosting a website or blog from an Android device may seem like an impossible feat, but with the right tools, it is quite achievable. In this blog post, we have explored the steps required to turn your Android device into a web server that can be accessed from a public URL or your own domain. By using an Android terminal emulator like Termux and obtaining a public URL through Pinggy, you can easily create and share your content with the world. So, why not give it a try and see what creative ideas you can bring to life on your own personal web server?